Emergency Food Storage - The Time Is Now
Secrets to building an inexpensive, lasting emergency food supply
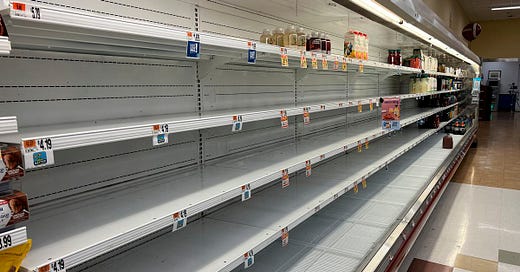
Everyone needs a robust, long-lasting emergency food supply. And you don’t even have to grow the massive amounts of food each season like we do here at Gluck Farms. Further, you don’t have to buy those expensive dried 'emergency food meals’ you see advertised almost everywhere these days. We found a solution that anyone can use to ensure no one in his family goes hungry when food is scarce or if the grocery stores have all been looted by mostly peaceful lunatics.
Start now! Build your own emergency food supply
We preserve hundreds of pounds of food each year — out of approximately 1,500+ pounds we grow in total annually, but that’s not really an emergency food supply. Our preserved food is largely in glass canning jars, which are heavy and difficult to transport if we had to leave quickly. Plus, I’ve never met a glass object that wasn’t in grave danger of shattering when I touch it, especially if I were under stress due to some apocalyptic event.
So, we wanted to find a way to store high calorie emergency food with a long shelf-life that would provide food for our family during a serious food scarcity situation.
One of our favorite permaculture YouTubers published a video outlining the perfect solution for everyone, even people who don’t grow any food of their own and don’t want to spend hundreds (or even thousands) of dollars on freeze-dried meal solutions.
I’m sharing his video below as well a written step-by-step instruction in case you don’t want to watch the video.
How much food should I stockpile?
One of the most common questions people ask us is how much food they should stockpile. Don’t depend on any grocery store to provide you with necessary food during an emergency.
Short-term emergency supply: You’ll need a 72-hour to three-month food supply for each person in your household.
Medium-term emergency supply: You’ll need a three- to six-month supply of food for each person in your household.
Long-term emergency supply: You’ll a 12+ month supply of food for each person in your household.
Each person will need at least 2,000 calories and one gallon of water per day. Check out this handy food storage calculator to help you determine how much you’ll need for each person.
[Consider supporting me with a $5 coffee? *makes heart sign with hands*]
Step-by-step method for emergency food storage
Here’s my step-by-step summary of the video, with a few pictures of us as we created our first stores of beans and rice. Note: We use this same method for storing various types of flour, sugar, and other dry goods used for baking. You can store pasta, oats, and other things this way as well.
Scenario: Imagine you want to store rice and beans to start. Both of these foods have a good amount of calories and the beans provide some protein. Granted, nothing beats meat, but storing your grass-fed beef and other meats is for another article (coming soon).
[Consider buying me a Ko-Fi?]
Step 1: Buy four 5-gallon buckets with lids from a hardware store like Lowe’s or Home Depot.
Step 2: Get a multi-pack of 2500cc oxygen absorbers [We got a 20 pack from Amazon for $12.99] and a multi-pack of 5-gallon mylar bags [We got a 25 pack from Amazon for $35.99]
Step 3: Buy two 20 pound bags of rice and two 16 pound bags of beans. If you want non-gmo products, you may have to order them. It’s hard to find large bags of unadulterated rice and beans in a regular grocery store.
Step 4: Put the unopened bags of rice and beans in the freezer for three full days. If you don’t have a large enough freezer (like a second, dedicated freezer), you may have to do it one at a time.
*Once your rice and beans have frozen for three full days, you can start assembling your stores, but you’ll need two more things and you probably already have them: an iron and a 2x4 piece of board that’s about 18 inches long.*
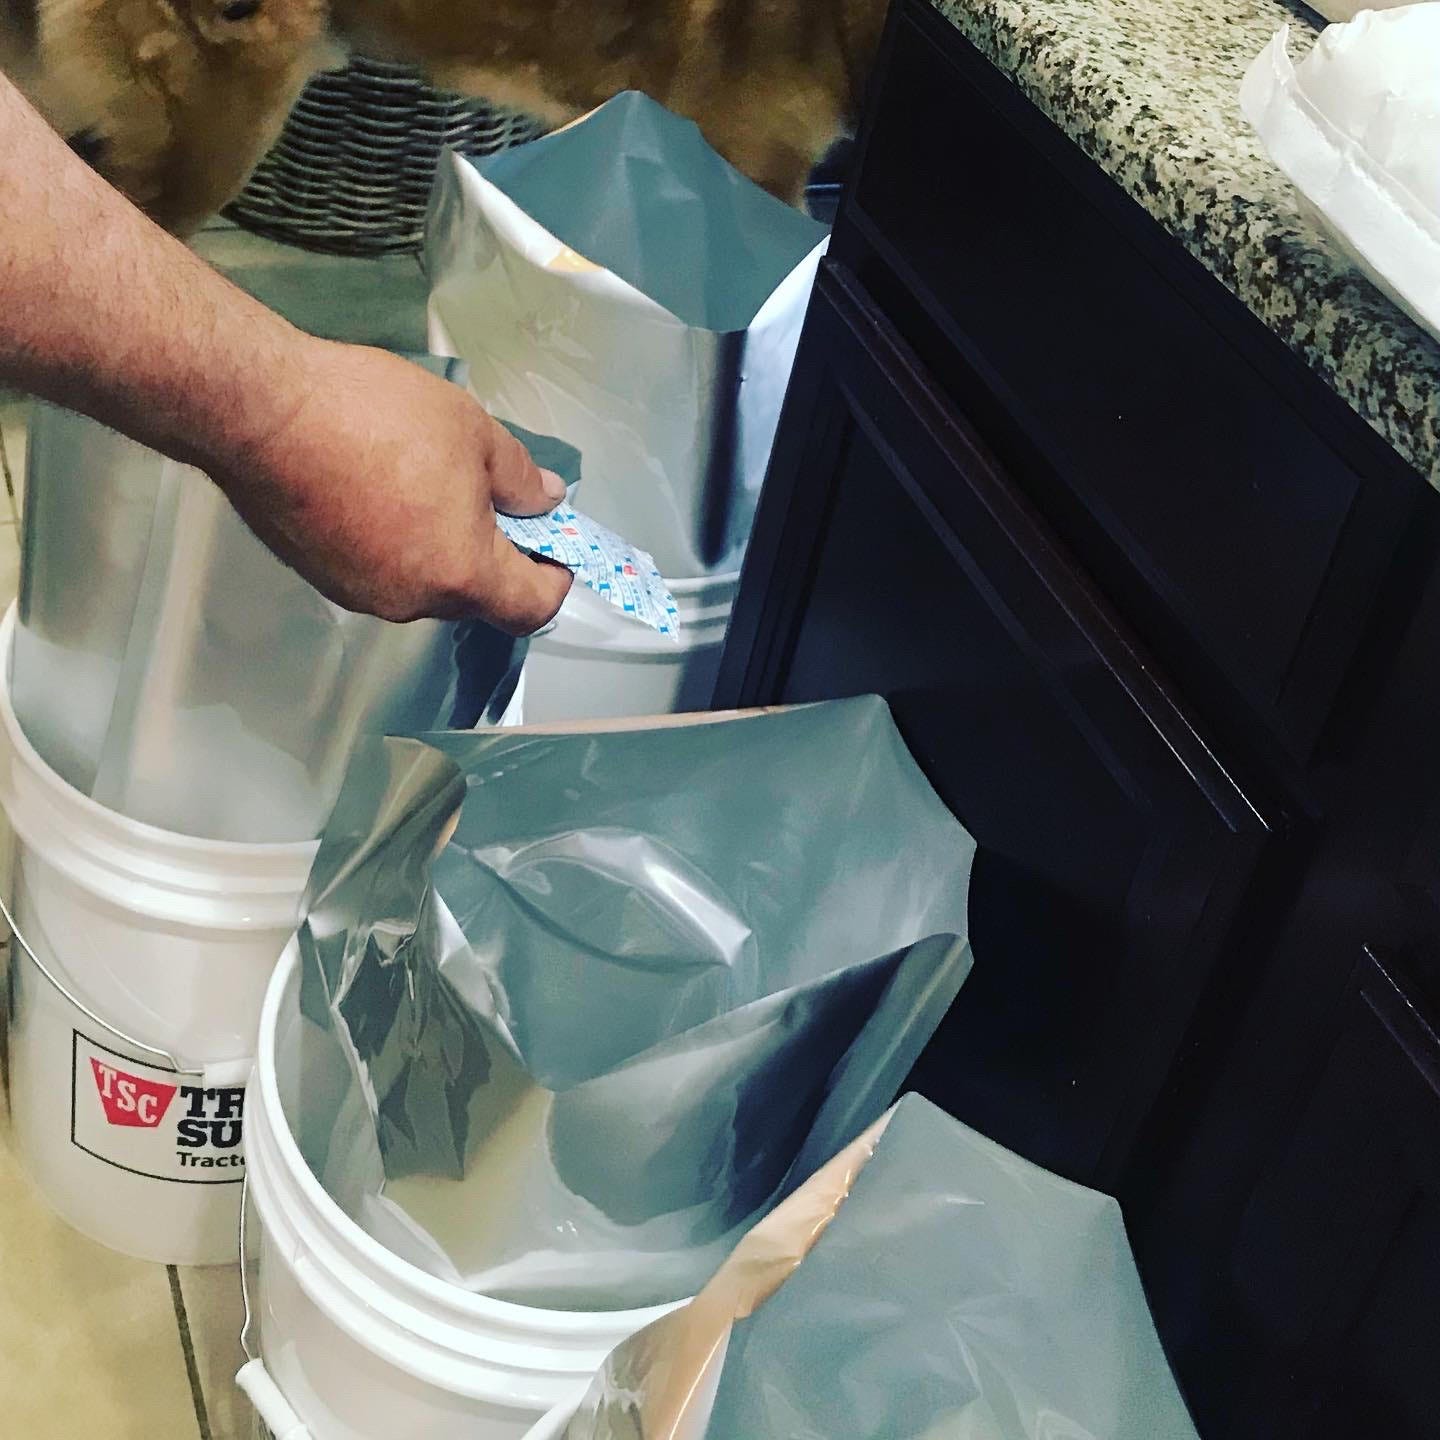
Step 5: Place an opened mylar bag in each 5-gallon bucket. Pour a 20 pound bag of rice into two of the mylar bags in the buckets. Pour a 16 pound bag of beans into the mylar bags in the other two buckets.
Step 6: Heat up your iron and have your piece of wood handy. Place an oxygen absorber into ONE of the bags. Lay the board across the bucket opening and lay the mylar bag on top of the board. Iron the mylar bag, sealing it. Place lid on the bucket and repeat this step three more times — do NOT forget to put the oxygen absorber in each one.
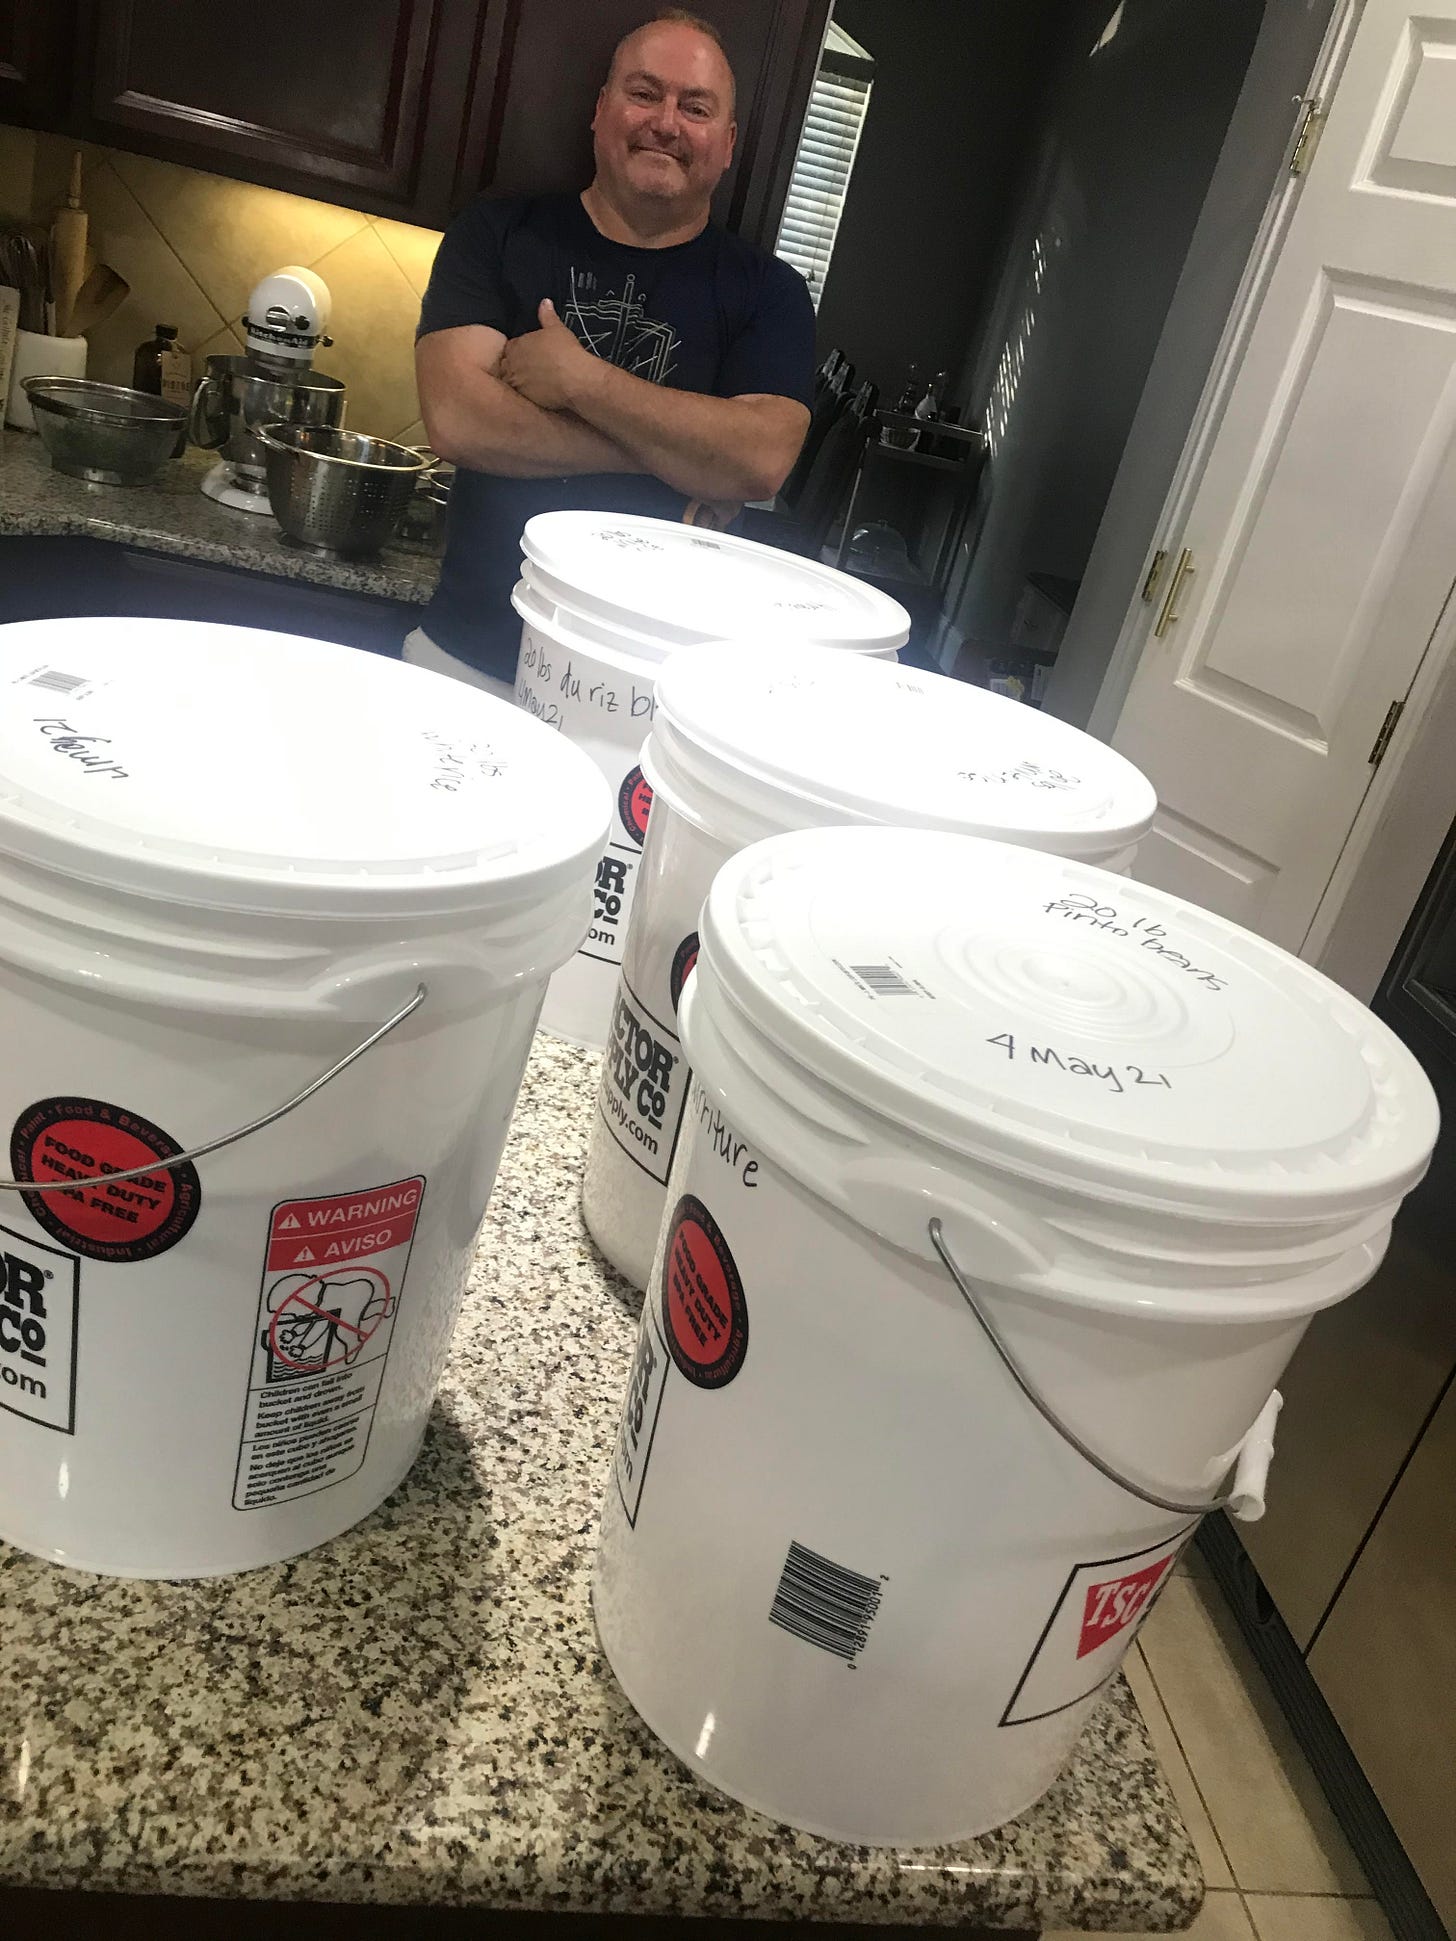
Step 7: Take a thick Sharpie pen to label and date each bucket.
Congratulations! You’ve started to build your emergency food supply.
You may wonder why it’s imperative that you freeze the rice and beans (and any other dry good you plan to store this way) for three full days. Are you sure you want to know?
The reason you must do this is because these things usually (as in always) have tiny eggs in them that will hatch into tiny insects. Freezing them for at least three full days kills them.
Do you have an emergency food supply?


I found a great set of recipes called Emergency Meals in a Jar.
Basically they're dehydrated foods that you vacuum seal in a mason jar, and only require hot water to prepare. I've been experimenting with a few recipes from my garden produce that I dehydrated, and I think once I find good recipes my family enjoys I'll put together at least a few weeks worth of meals per person that I can rotate over the long term.
There's a video I linked in my post, which has some other information as well.
https://theodoreatkinson.substack.com/p/being-prepared-is-the-strength-you
Perhaps; but the truth of the matter is that if they wish to kill us they'rte going to find a way, come hell or high water. Whether it be poisoning the air we breathe or rounding us up for FEMA camps complete with cyanide gas or guillotines while I understand the importance of storing things that only covers so much ground. I'd rather die than survive in the world the global goons have in mind for us all.